nail polish
December 8, 2014
Holiday Gift of Giveaways: Holiday Nails with Julep

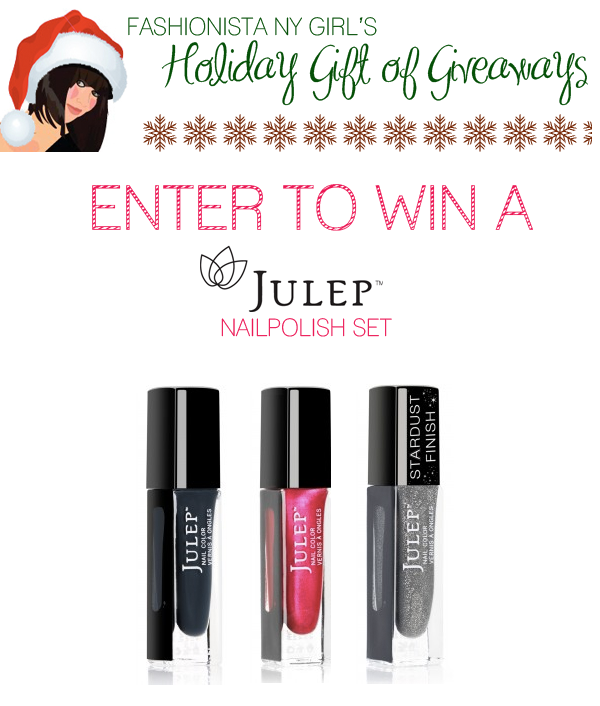
'Tis the season for Holiday sweaters, tights, and NAILS! I know I'm not the world's best nail artist but I do love me some festive nails, whether that it's painting Christmas tones on my nails or trying to master a Christmas tree on them. If your looking for the perfect Holiday nail color then look no further, Julep has your nails covered this Holiday Season! I have partnered with Julep to not only get you inspired for the season but ONE lucky winner will win THREE Holiday ready colors: Cara, Josephine, and Bradien.

Like I said I'm no nail art maven...but it doesn't prevent me from having a little fun. I used Julep's three colors Cara, Josephine, and Bradien to create my own Christmas inspired nail art!
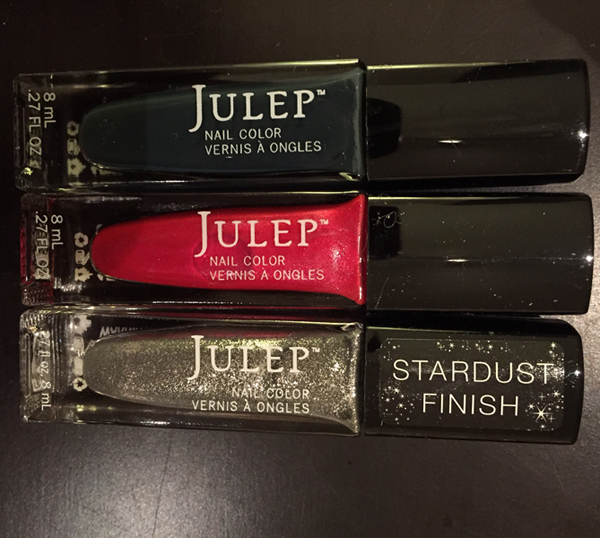
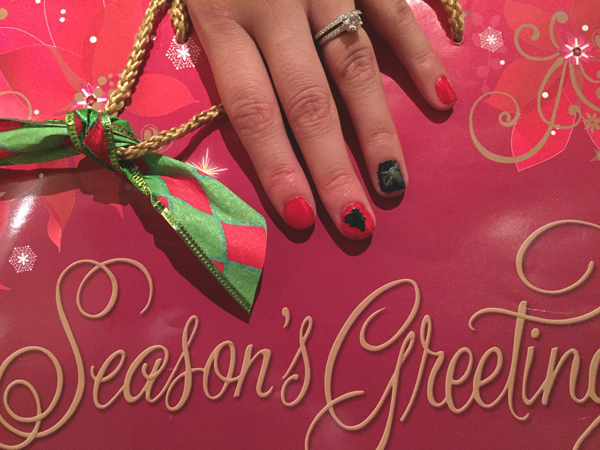
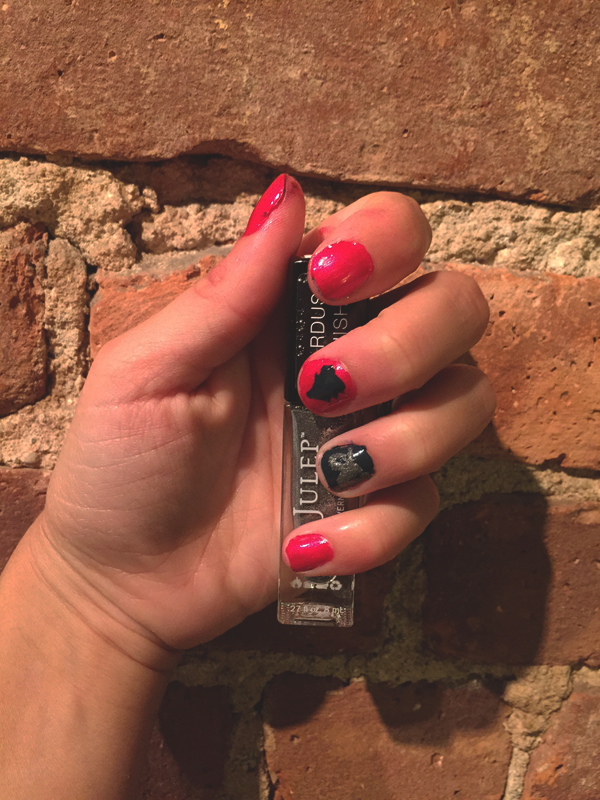


These three colors are not only fun to mix together and make art with it but are perfect to wear on their own as well. I love that the red (Cara) is not a deep rich red but something a little lighter and had a bit of sparkle. Which makes this color easier to wear all year around. Josephine is a dark deep rich green color that is perfect to take you through out winter. Then there's beautiful sparkly Braiden. I mean who doesn't love a little sparkle on their nails? You can polish all 10 fingers or just one for a hint of sparkle. I'm sure those of you who art nail artist can really work these polishes!
Enter to win your own set of Julep nail polishes. ONE lucky winner will receive THREE Julep polishes: Cara, Josephine, and Bradien. Contest ends Sunday 12/14/14 at midnight. No purchase necessary.
PS Shop all of Julep's Holiday gift set here!
August 21, 2013
The Nail File: Londontown USA
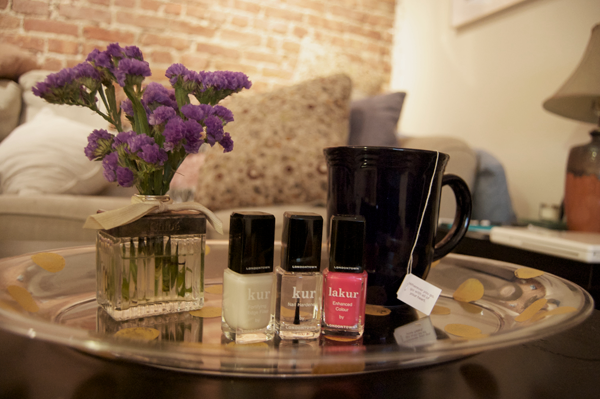

nail polishes c/o of Londontown USA: Kur Ridge Filler | Kur Nail Hardener | Lakur in Weekend Cheers
When it comes to my nail care routine I'm pretty basic: base coat, nail polish, and top coat. I tend to do at home manis at least once a week. It's important to have good looking nails, even though typically my nails chip by day one. Reason #1 why I splurge on good nail polish instead of going to a nail salon. Which brings me to this post...it's nice to finally find a nail polish that didn't chip on the first day!
Thanks to Londontown USA they created
To get my perfect Londontown USA mani I started with the Kur Ridge Filler to smooth and coat my ridges in the tip of my nail. Then to ensure that my nails get stronger and to create a bond for the polish to stay longer-- a layer of the Nail Hardener went on top. Of course, for the color I went with the most vibrant pink called Weekend Cheers. Yes, I might be a nail polish hoarder, but theres not much of a variety in my collection. You'll find lots of pastels, brights, and shades of pinks. What can I say I love adding pops of color where ever I can. So this beauty was the perfect addition.

polish c/o Londtown USA (in Weekend Cheers) | bracelets: Bauble Bar
All three products were amazingly smooth. The best thing of all-- I didn't have to hear my fiance complain about the smell. You'd think after four years of living together he'd be use to it. Londontown USA is definitely my new nail addiction.
What is your nail care routine?
March 31, 2013
Easter Bunny Nails

What is more cuter then bunny nails for Easter? They are perfect for the Holiday, plus they are fun for spring...and they are super adorable.
What you need:
- pink nail polish
- purple nail polish
- white nail polish
- black nail polish
- optional tooth picks (instead of nail art pens)
Steps:
1. Paint 4 of your nails pink leaving your nail of the ring finger unpainted. Do two coats.
2. Paint your ring finger purple. Do two coats.
3. Repeat step 1 & 2 on the other hand.
4. Take your tooth pick and dip it into the white nail polish. Create half a circle at the edge of your ring finger nail. Carefully use the white nail polish brush to paint in the semi circle.
5. Take the tooth pick and dip it again into the white nail polish and create the the bunny ears.
6. Use a new tooth pick to dip it into the pink nail polish and lightly create a dot a little above the edge of the nail to make a nose.
7. Use another tooth pick to dip into black nail polish, lightly create two little dots above the nose for the eyes.
8. Reuse the pink tooth pick and re-dip it in the pink polish. Lightly fill the middle of the ears for the pink inside of the bunny ears.
9. Repeat steps 4 thru 8 on your other hand.
...Now you have Easter ready nails...or at least happy bunny spring nails.
Have a Happy Easter everyBUNNY! :)
June 8, 2012
Nailspiration: Drip Nail Art

image from Pale Divison
I was going through my daily blog roll when I came across Pale Divison's entry about her Chanel Drip nails. I totally fell in love with them! From the pink to the gold background. I was also more impressed that she was able to do the dripping Cs. I do not have a steady enough hand but I did think that just maybe I could pull of this drippy nail art myself. I guess you can be the judge....
What I Used:

1. Base Coat used: Essie Protein Base Coat
2. Your Base Color used: Chanel Graphite
3. Nail Art Polish- Black- used: Sinful Color Time Off
4. Nail Art Polish- Pink- used: Art Club Lilac
Steps:
1. Start with you base coat. Here I used the Essie protein base coat since my nails are so delicate they need the protein.
2. Pick a metallic base coat. I went with my Chanel (in spirit of the project) Graphite color. It's the perfect hint of shimmer and metallic.

3. Start the dripping process!! I started with the Lilac nail polish from Art Club. I used this on all my fingers but the pinky and pointer finger. Use fine thin nail art paint brushes, you want to gather enough paint on the end of the thin brush that you can. Start at the tip of your nail and pull down the paint. This will start to create the dripping feel. On the pointer and pinky I used my black Sinful Color nail art paint.

OPTIONAL
*Create dripping Cs. I didn't opt for this because I am NOT craft enough for this. But give it a shot if you have steady hands.
*Top coat. You'll have to wait awhile before applying but a bit of top coat won't hurt. Just make sure your nails are dry when you apply.
Finished product:


What do you think of the drip nail art?
October 3, 2011
Nailspiration: Dalmatian Print

Who doesn't love Dalmatians? And who doesn't love the movie 101 Dalmatians? Apparently so does Unique, Topshop, Burberry Prorsum, and Sonia Rykiel. Taking the leap into this pattern might be a little scary...so to test the waters with the trend I decided to try it out on my nails first!
What I Used:

- Sally Hansen White Tip
- Sinful Time Off
- Essie Topcoat No Chips Ahead

2. Take your thin nail polish brush or nail art pen in black and start spotting your nails. Make sure to do different sizes. The great thing about the dalmatian spots is that they aren't perfect circles, so don't worry about being perfect!

3. To polish off the whole look just do a top coat! And TA-DA! You have Dalmatian print nails!

Would you guys try this look?

I'm on a kick with the ombre stuff. Monday's Inspiration was all about the ombre trend from nails to clothes to hair. Since I was so inspired by the ombre trend and Lauren Conrad I decided to do another one of these Steal the Stars Summer Manicure post.
The first thing you need to know about ombre is that it's the same color but just in different shades like different shades of pink or red and it goes from light to dark. To achieve this look you need nails polish in the same colors, thankfully I owe a lot of different shades of pinks and reds. If you have lots of greens, blues, purples, etc. use whatever you have. Or get together with your bestie and have a nail party!
What You'll Need:

- 5 shades of one color
- Top Coat
- nail filer, buffer, and nail polish remover (for pre-painting)
Getting this look is pretty easy...I started with the dark color first (thumb) and then worked my way down to the lighter shades ending on the pinky.


Do two coats of each color and then just simply top it off with a top coat.


VIOLA! You have ombre nails!
Subscribe to:
Posts (Atom)


