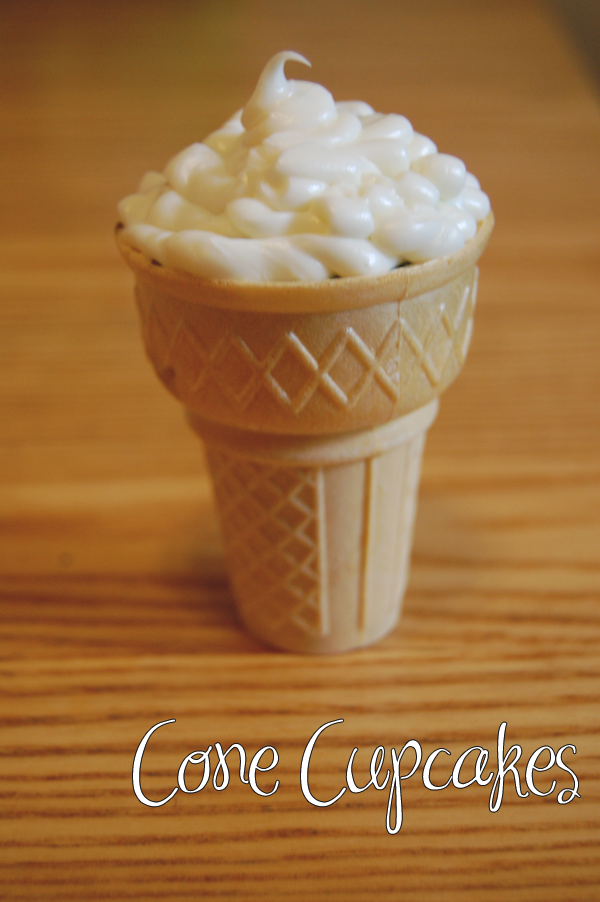
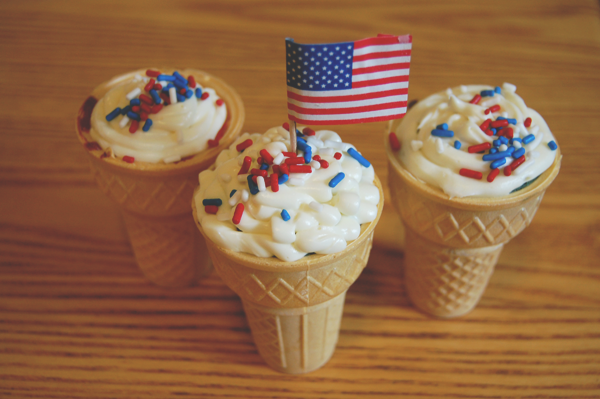
When it comes to hosting parties I like to "wow" my guest with fun treats. These special deserts don't have to be anything incredibility difficult to make. I love to keep my food prep pretty simple especially when I'm the one hosting the party. There's already so much to worry about that you don't want to spend most of our time making one dish. With that said, for me when it comes to throwing a party, I look for some boxed goods (cake mixes, etc) that I can make a presentation out of. I love these Cone Cupcakes because they are just that. They look like time was spent on them but the little secret is that not a lot of time really goes into it (unless you want to bake everything from scratch, which by all means go for it!). These Cone Cupcakes are perfect for summer BBQs or kids birthday parties. I made these for my husband and I's 4th of July Party and they were a total hit!
What You'll Need:
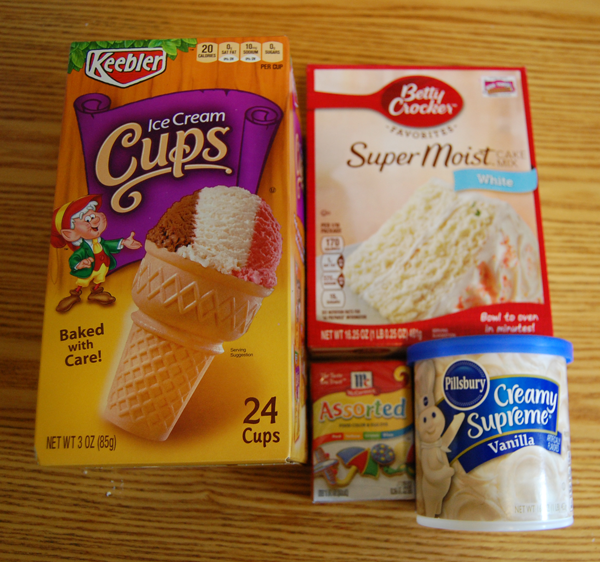
- Ice Cream Cup Cones (used Keebler)
- Boxed Cake Mix ...of your choice (if you want to dye your batter choose a white cake mix)
- Frosting...of your choice (you can make your own if you so choose)
- Sprinkles
1. Pre-heat the oven to the temperature desired.
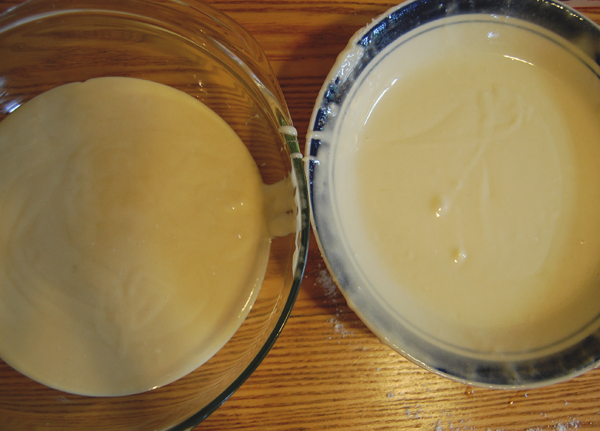
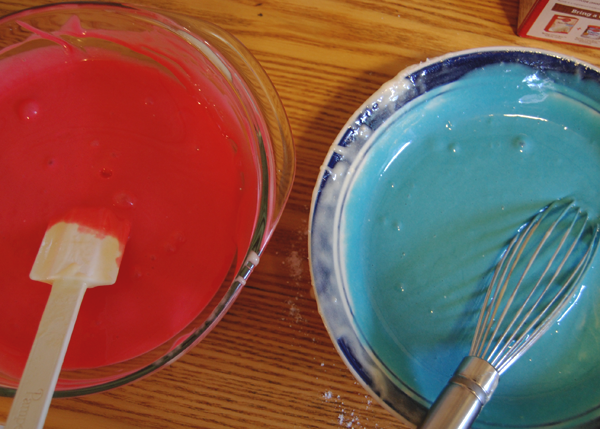
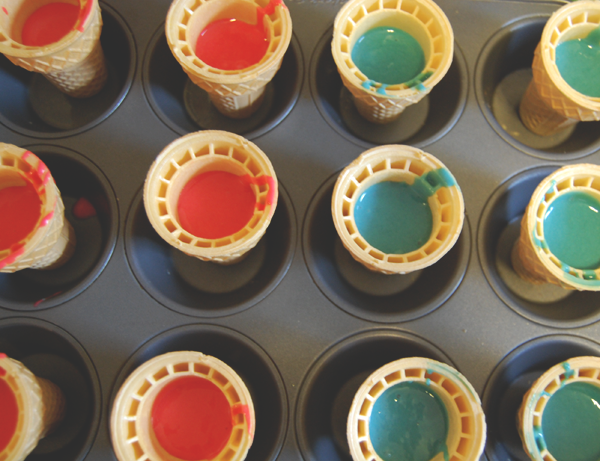
2. Follow the cake box instructions. Once you have your battered mixed, if doing two separate colors: separate the batter into two bowls. Add food dye into each bowl and mix. To achieve the desired color, add more dye if necessary.
3. Once your batter is all mixed...In a muffin pan lightly spray the pan with cooking spray, then place cones into the tray. Fill cones half way up.
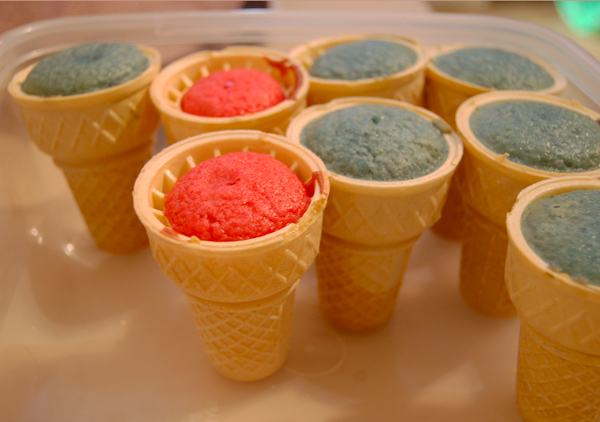
4. After you fill our cones, carefully place them into the oven for about 14-20 minutes. Or until your toothpick comes out clean.
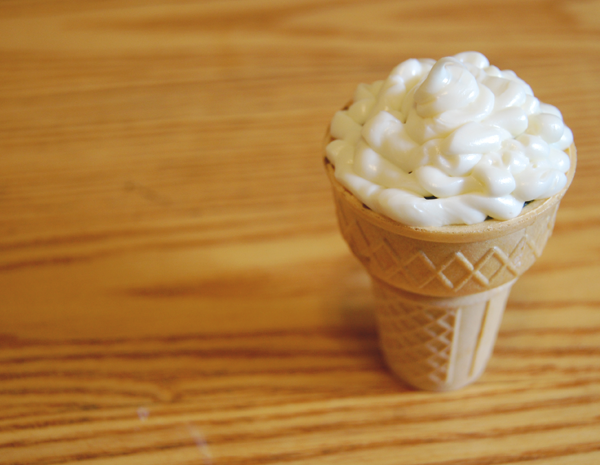
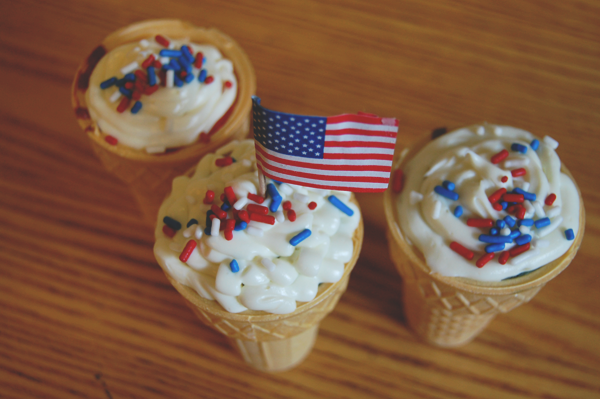
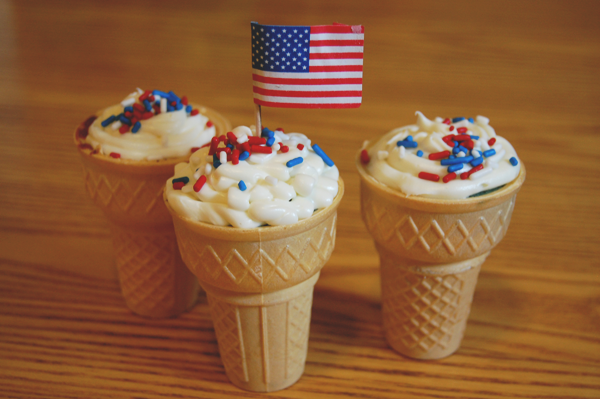
5. Let your cupcakes cool after baking. Once they are cooled you can begin to decorate them. The idea of these cupcakes are to make them sort of look like a soft served ice cream cone. If doing a can of frosting choose one that is light and fluffy. If you don't have a pastry bag don't worry! Take a ziplock bag, fill it with frosting, zip the bag, and push the frosting down to one edge of the bag. Clip the edge and you can now decorate. Create spirals starting from the edge of the cupcake working in towards the middle. Once your cupcakes are all frosted, add sprinkles!
6. Serve and enjoy!!
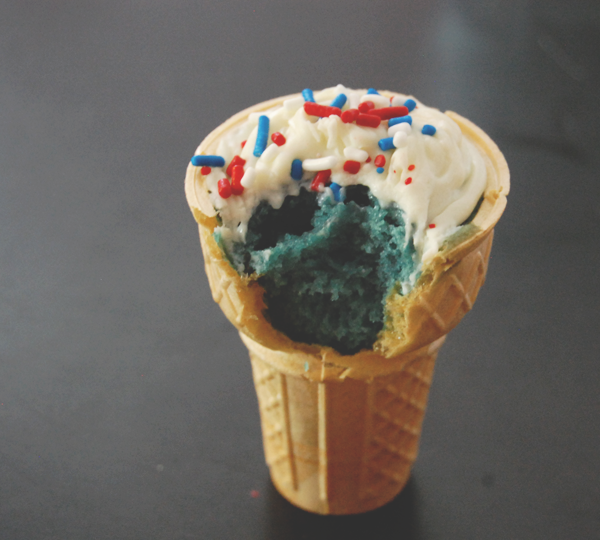
I added food dye to my batter so that when you bit into the cone you got a nice surprise of red or blue. You can do this with any color that you like OR you can use red velvet or chocolate cake to get the same effect. You can even add maraschino cherry to top off the cupcakes!
Would you make these for your next party?


Post a Comment
Thank you for your comments!! I look forward to reading them!