February 5, 2011
DIY Chic Nail Prints
Sephora by OPI has created pre-cut design strips for your nails. It's a take on minx nails. These strips are said to last up to two weeks. Each of these packs come with 16 pre cut strips and will cost you $15. Sally Hansen also has their own pre-cut design strips called Salon Effects.
On Friday I bought both Sephora by OPI and Sally Hansen. I decided to give Sephora the test drive first.
Things that you will need:
Nail polish remover, nail filer, and nail clippers (I think nail clippers were easier to use then scissors to cut the strips)
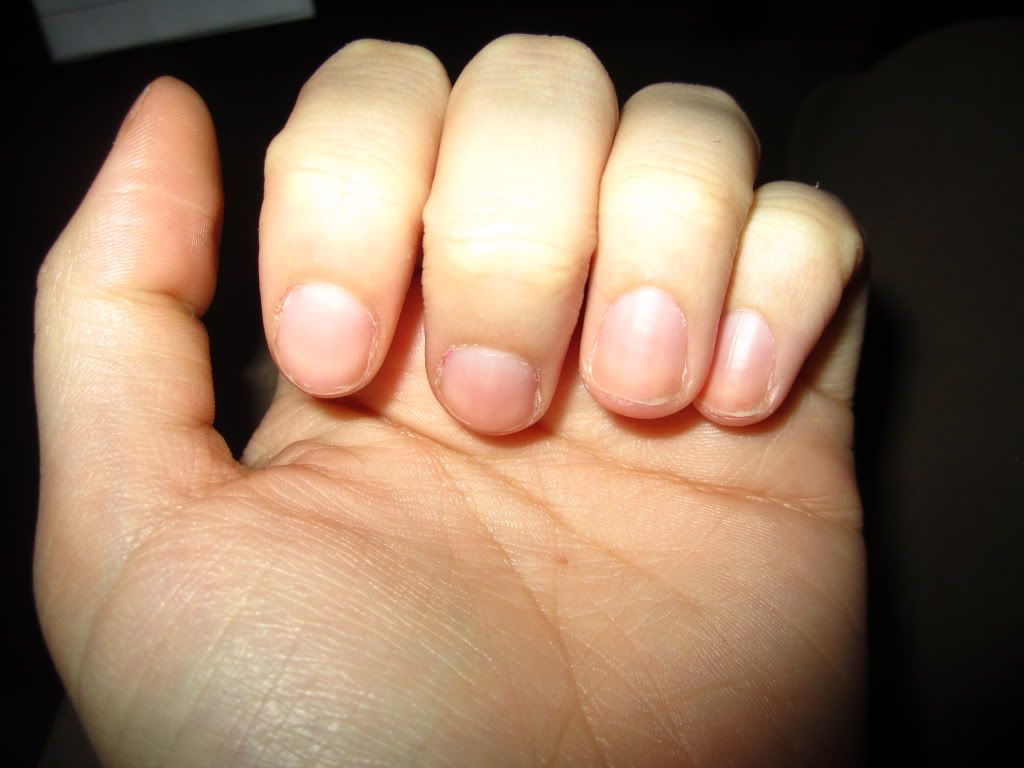
Make sure to file your nails and to remove all nail polish and residue from your nails with nail polish remover.
Rub each strip and then peel to fit onto your nails. Then use the nail filer to file away the access strip.
The finished product:
Okay well they def. aren't perfect but this was attempt number one.
I'm not sure how these last for 2 weeks, it feels sort of weird at first sort of like if you have tape stuck to your nail. Anyway, I think the Sally Hensen ones might fit better on my nails since they have more of a bottom piece then the Sephora ones. We'll see and I will post the Sally Hensen ones as well.
My Sally Hensen Salon Effects:
Would you guys try doing the pre-cut strips yourself?
Subscribe to:
Post Comments (Atom)


I saw these at Sephora a couple of weeks ago. I was intrigued, but decided they were just too good to be true. I hope the Sally Hansen ones work out!
ReplyDeleteamelie-fleurjaune.blogspot.com
It seems so square on the bottom. I wonder what could be done to make them fit better...?
ReplyDeleteHmmm, yeah they are square at the bottom arent they? Why would they make nail strips and invent them with a square edge looool when we have round cuticles? Soo weird, can't wait to see how the other ones turn out though ;D
ReplyDeleteExciting stuff woo xx
I did a post on my own blog a while back about the minx nails as they seemed to be a bit of trend brewing. So it's interesting to see other companies doing DIY one's yourself. It doesn't look like it's the easiest of things to apply. It'd be intrigued to see how you get on with the Sally Hanson ones though.
ReplyDeletewww.arashmazinani.com
@arashmazinani
Um, you put them on backwards. I did these for my niece's prom, they were stunning. The rounded end fits the cuticle. The square end is just the extra bit. The Sally Hansen ones I tried the Pink Camo and they flaked off within a few hours. Also they smelled bad when I opened the package, real strong like worse than polish. Dollar for dollar I like the Sephora Chic prints, no smell no chemicals, no fuss. And Sephora is classy.
ReplyDelete