What You'll Need:
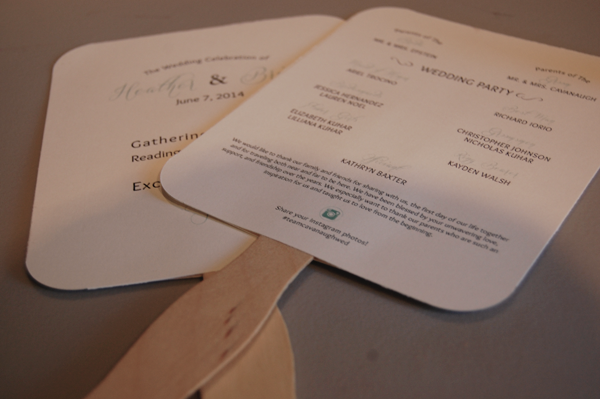
- Paper Stock with your programs pre-printed (paper should be thick, we used Paper Source's cover paper)
- Program Sticks (bought ours off of Amazon)
- Glue Sticks
- Paper Cutter
- Corner Puncher Rounder *optional* (ours was Martha Stewart from Amazon)
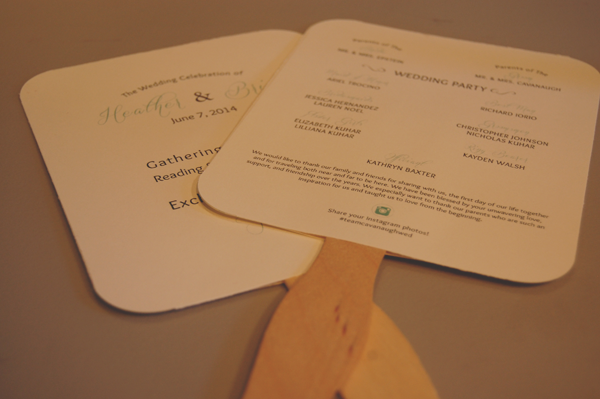
Step 1. Work on the layouts your programs and print them out before starting to build your fan program. We put our front and back information on two separate papers.
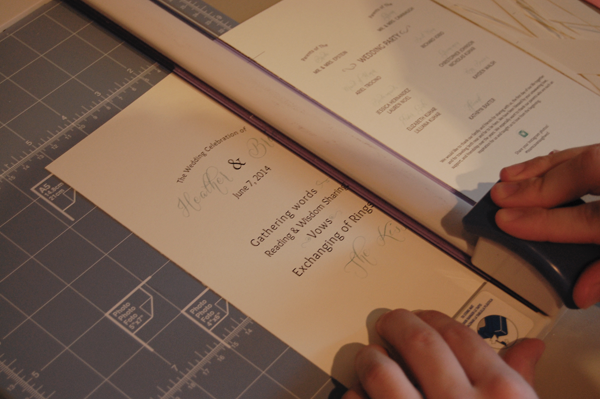
Step 2. Slice your paper to the size you need it to be. We used a paper cutter to keep all edges straight as well as to have them be the same size.
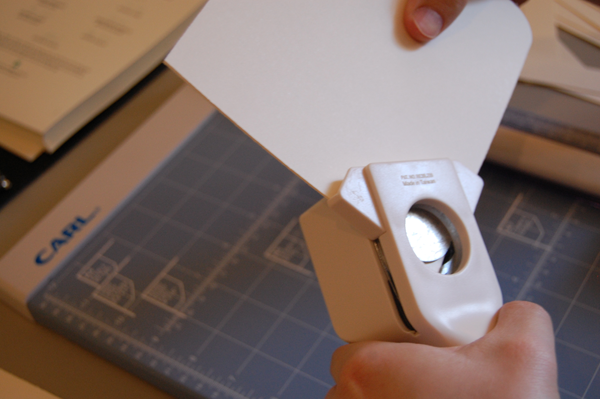
Step 3. Once you have the papers cut to the size you need, take your corner puncher and punch out the corners of your programs. If your able to I advise you to stick both This will give your programs a finished look.
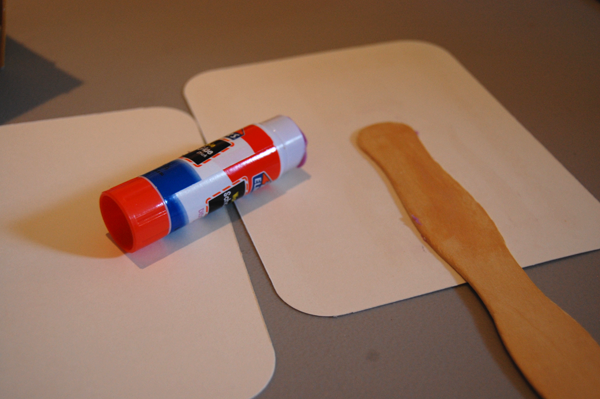
Step 4. Flip your programs faced down. Use the glue stick and glue the backs of the programs. Glue the stick to one side and then add more glue to the stick. Align the programs before sealing together.
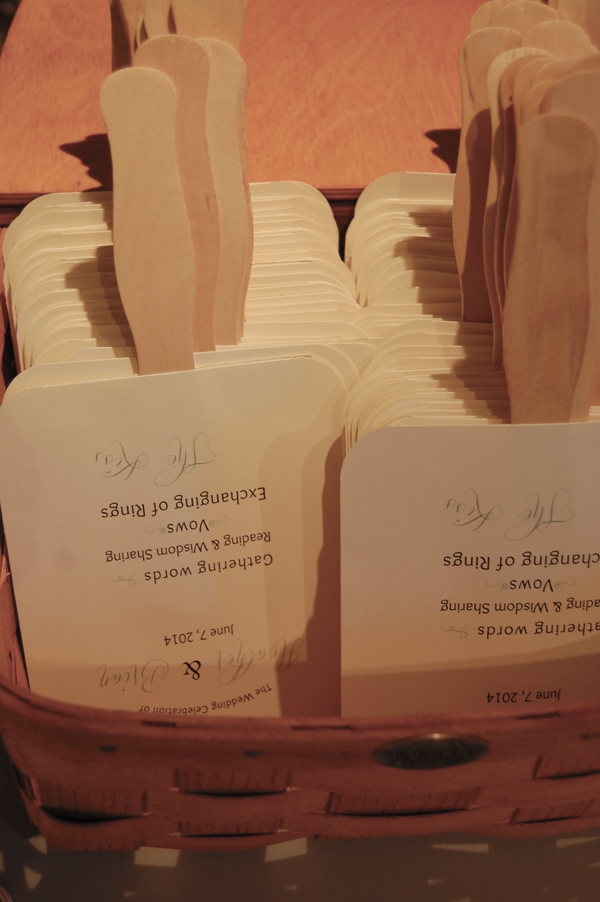
Thank god we did these fan programs since the day of our wedding it was about 80 degrees and sunny! It was nice to look out at our family and friends during the ceremony and see them actually using it. The process was pretty easy, well thankfully having a husband that can slice in a straight line helped. I was the corner puncher and paster for this crafty project.
I look forward to sharing photos from our day with you as well as more projects that we worked on.


this is a great idea!
ReplyDeletexx Michaela
This is such a cute idea! I love your blog!
ReplyDeleteColour Me In Blog
Like your result with the fan. We are wanting something for my daughter's wedding.
ReplyDeleteWhat was the finished size of your fan? What size paper did you use? Something that allowed only one paper cut?
We've got around 250 attending. Would you tackle for an event that large?
Thank you!
Hi, Thanks so much! We only had 75 people and did probably 100 fans, extra is always better. We cut a 8 x 11 paper. The paper was Paper Source cover stock paper so it was thick and cutting was done one by one. You want to do a thick stock paper as you don't want it to be light weight and flop over. 250 is a big size wedding, this was a two people job just for our 100 fans. You could cut down on the hours it would take to get these done if you get a couple of people together and start an assembly line. It can be done, but I think it would be taxing on just one person. Best of luck to you! And congrats to your daughter! Hope she's enjoying the planning process and has a beautiful wedding day!
DeletePlease let me know if you have any other questions.
<3
heather
This really answered my problem, thank you!
ReplyDeleteTwitch.tv
Information
Click Here
Visit Web